
Today I’m going to show you how to make party balloons in Photoshop, nothing fancy, I just find balloons handy from time to time. You can use it to take up an empty space in your scene, create desktop wallpapers like the banner I borrowed from deviantart.com by wisseh, they can be a lot of fun to do and it’s very easy.
Let’s prepare our work area
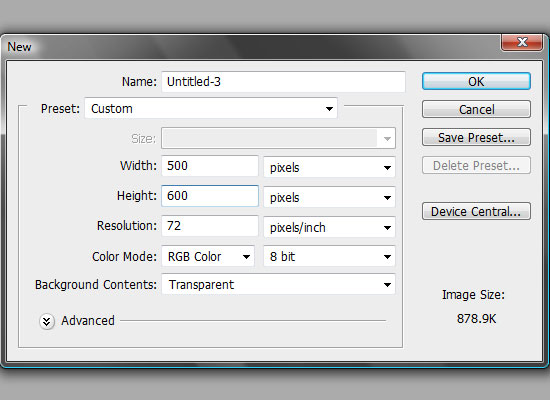
In Photoshop create a new file and make it 500 pixels x 600 pixels. We need it to be vertical so well have room to make the strings.
First lets make a background, in your colors palette give your foreground a light blue color #AFD8FA and make a background color #FCFDFE then select your gradient tool, make sure you have “linear gradient” set as effect just drag it from the top going straight down to the bottom of your stage. We will rename this layer “background”.
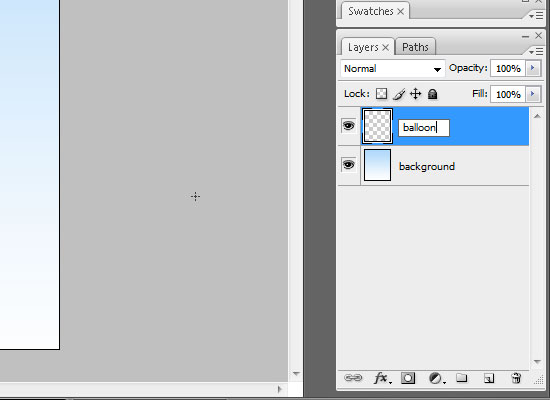
Next well create a new layer on top of the background layer and rename this layer “balloon”, and now were ready…
Step One – Using the Shape Tool Ellipse
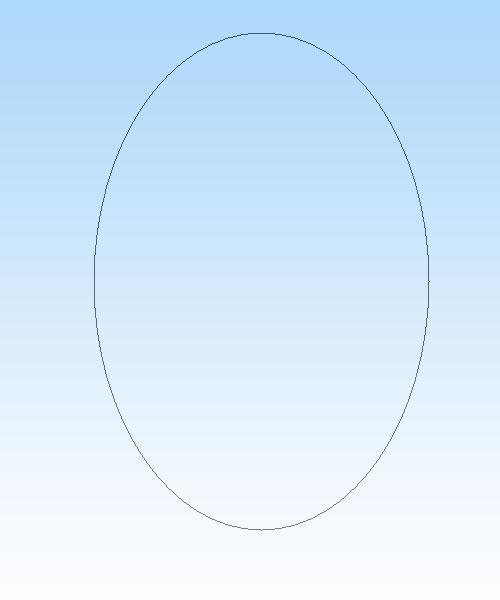
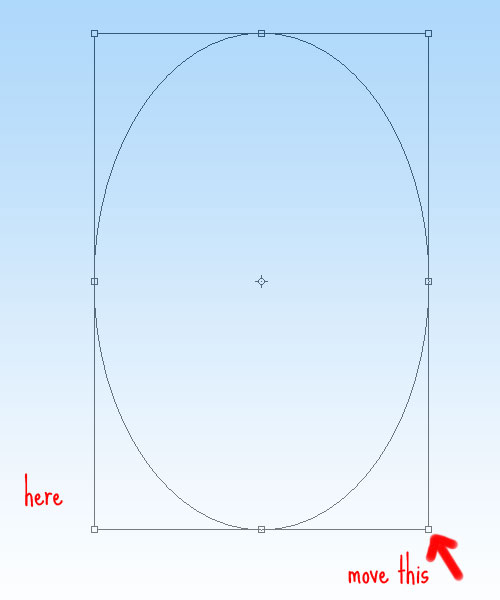
Click on Shape tool (U) then choose Ellipse, and make sure you have paths selected from the top panel. Now starting from the top left drag it vertically on your work stage from top to bottom giving it enough of roundness in the middle like an egg shape. This will be our basic balloon outline.
OK now we need to give our balloon that knot effect at the bottom.
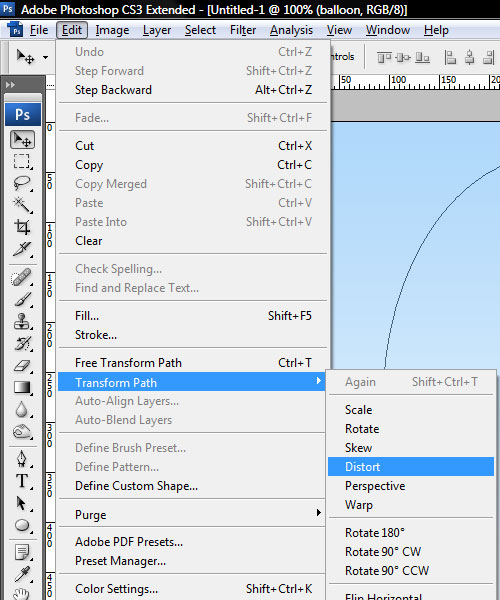
Just go to Edit > Transform Path > Distort
Take the bottom right corner anchor point and move it over to the left side past the left anchor until you get an inverted figure eight or an hourglass whichever comes first. Don’t worry if it’s crooked we can fix that.
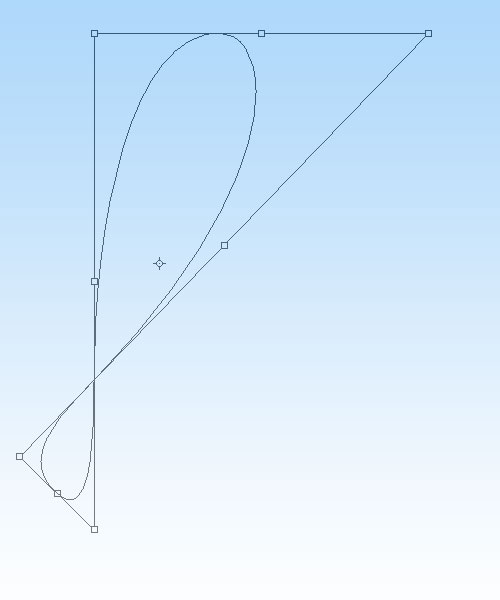
Make small adjustments by dragging on the side anchors to get the lines straight, we also need to blow up the upper loop while reducing the size of the bottom loop.
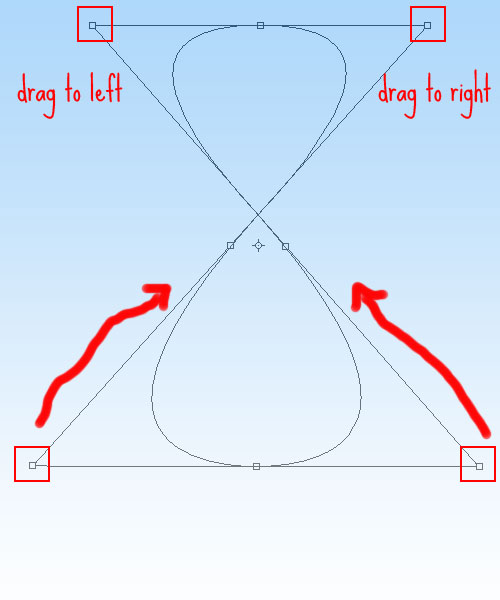
Something like this.
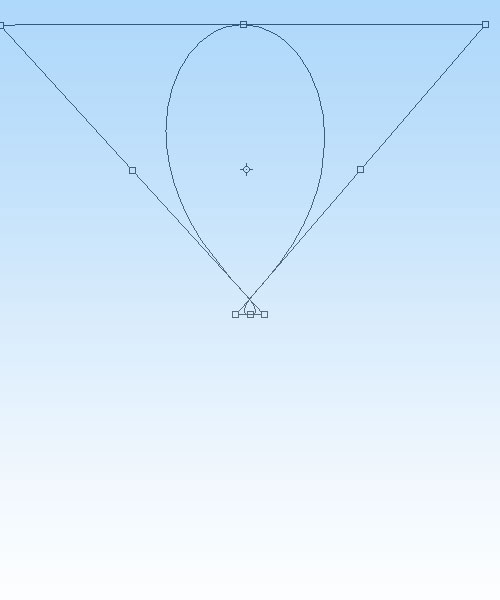
If you feel like you want your balloon bigger go to Edit > Transform > Scale or (Ctrl + T) then drag on either left or right corners, or the middle anchors and stretch your path to the size and shape you want.
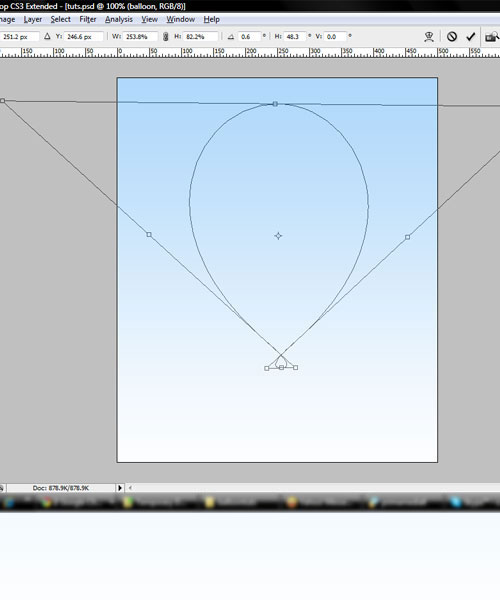
If you’re happy with your dimensions hit Enter to return to your path. Turn it into a selection with Ctrl + Enter. (a selection is when the path turns into crawling ants)
Step Two – Gradient fill
Let’s set our background color first this will be the main color of your balloon. I think red would look good here, reminds me of that 80’s German pop song “99 Luftballoons” which literally translates as 99 Red Balloons. So from your colors palette key in #CC0000 for your background, that’s a nice red color. Then for our foreground, it needs to have that stretched out effect of red, I think a light red would look perfect. So just choose from the red palette a red closest to white something like #F3C5C5 would be alright I think.
Now select the Gradient tool and assign “Radial gradient” as effect.
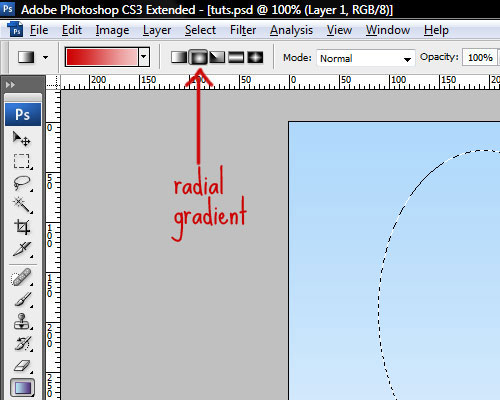
With your path still selected drag your gradient starting from the inside upper left diagonal to the right bottom.
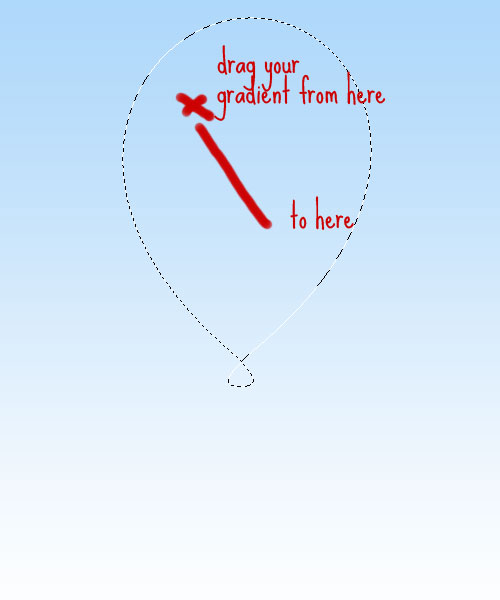
Drum-roll please, Tadaaaa… were almost there.
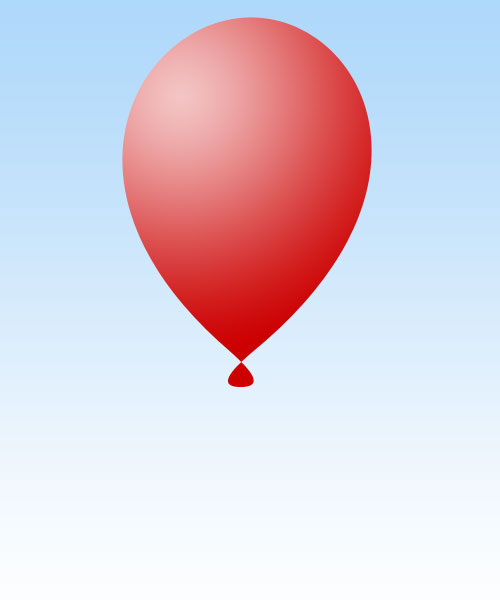
You can repeat this step as many times as you want until you get the right effect just click Ctrl + Z to undo and drag the gradient inside the selected path again.
I just thought of something cool while looking at wisseh’s artwork, since were on the Ctrl + Z mode let’s change the foreground to yellow instead. It just might have a cooler effect, I think #FEF300 is a good yellow color. There… hmmmn,
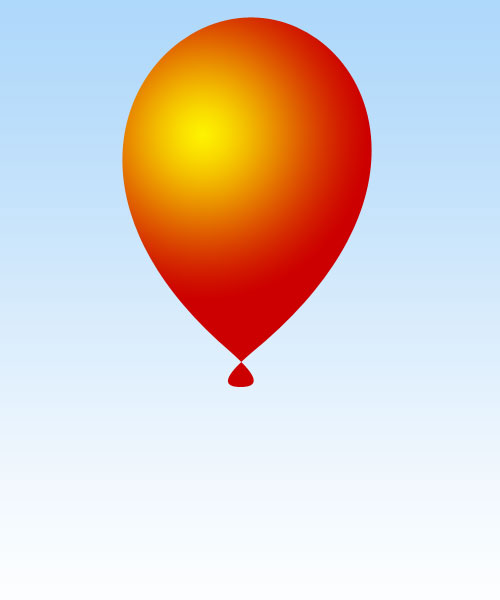
I think this combination is awesome, I’m going to stick with this. Just goes to show you not to be afraid of experimenting, mix and match, play around with it.
Step Three – Adding Details
Before we add anything let’s duplicate our “balloon” layer and rename the copy “red balloon”, now switch off the original “balloon” layer by poking the eye icon on the left of your layer so only the new layer “red balloon” and the background is visible.
With your “red balloon” layer selected right click on it and go to blending options.
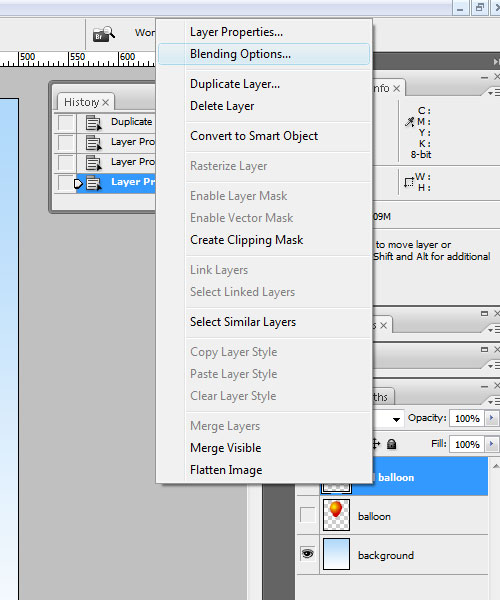
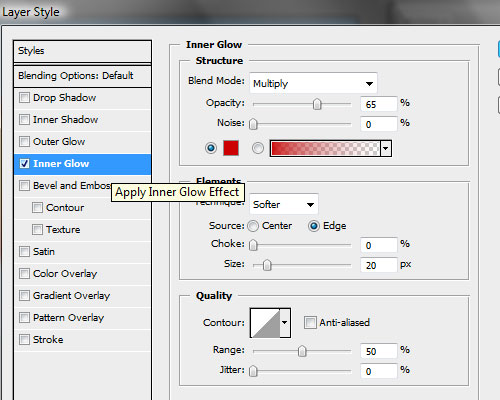
Then tick on “Inner glow”, give it our background red color #CC0000, then change “Blend mode” to Multiply. Adjust the “Size”, I used 20px then I changed the “Opacity” to 65%. You will need to adjust this settings according to what you think looks good. Then hit OK.
Now create a new layer on top of the “red balloon” and rename this “light effect”, with the “light effect” layer still selected take your Ellipse tool again from the “Shape” palette and create a small Ellipse, Ctrl + Enter to select and then fill it with white color #FFFFFF place this layer on the top left of the gradient. Rotate a bit to match the curve of your balloon’s outline.
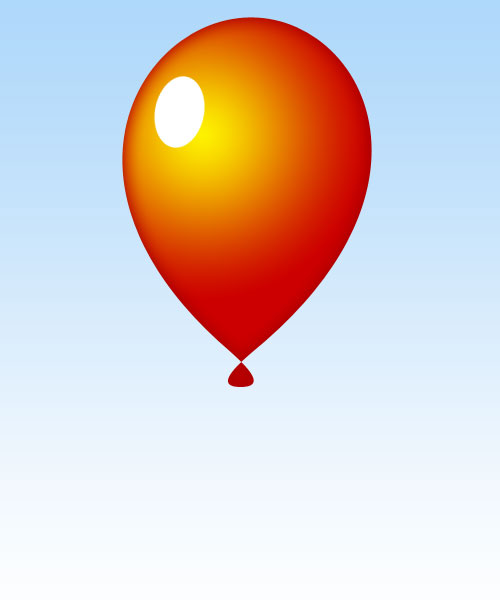
Duplicate this layer and rename it “light effect 2” then scale down “light effect 2” using Ctrl + T or Edit > Transform > Scale then reduce the size to maybe 2 – 5 pixels then hit “Enter”. Now go back to the original “light effect” layer and add a Gaussian Blur go to Filter > Blur > Gaussian Blur, give it about 5 pixel radius.
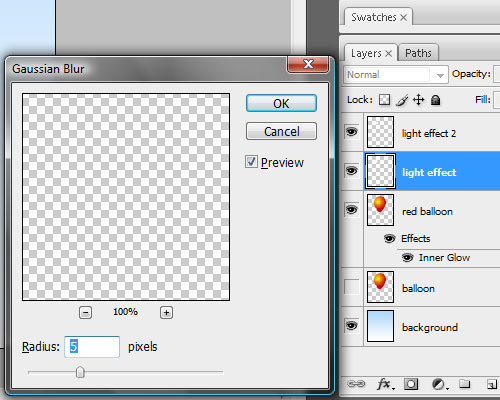
Now create a new layer on top of “light effect 2” and rename this layer “light effect 3” get your Ellipse tool and while holding the Shift key drag it to create a small circle. Place this on the top right of your “light effect 2”.
Your image and your Layers panel should be looking like this.
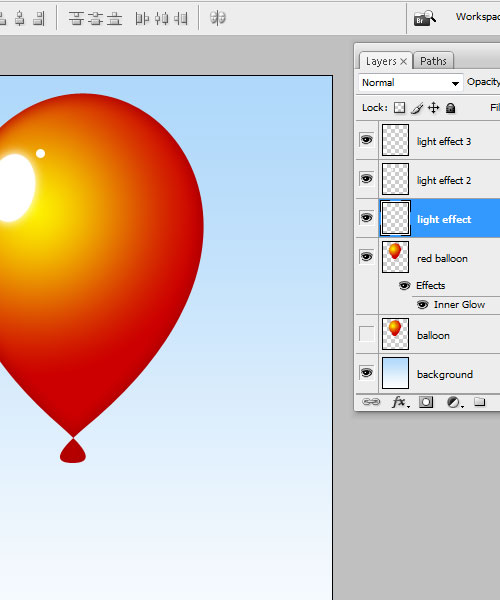
That’s your balloon, I suggest linking the layers except for the background layer by selecting them or grouping them simply by Ctrl + Select or Shift + Select all your balloon layers then right click and choose “Link layers” or drag the selected layers to the “Create new group” button on your layers panel tab options. By doing this you can move it around your workspace with just one selection. It’s also handy if your want to resize it later.
The strings attached
Now it’s time to string it up…
Create a New Layer and rename it “string” then choose the Marque Tool from the Tools panel or key (M). Then drag the marquee tool from top to bottom maintaining a width of around 30 pixels. You now have a vertical rectangle. Fill it with any color you like, for this tutorial I’m still using the background color #CC0000.
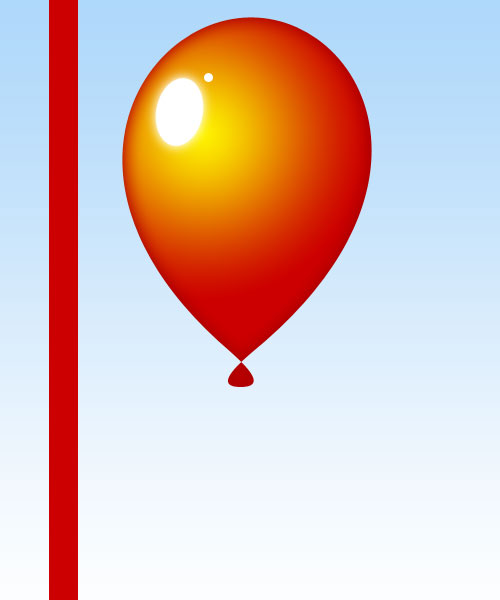
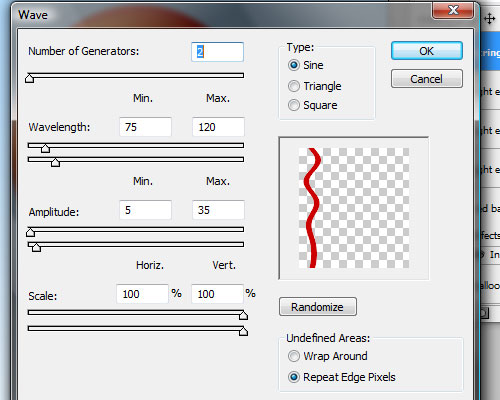
Go to Filter > Distort > Wave
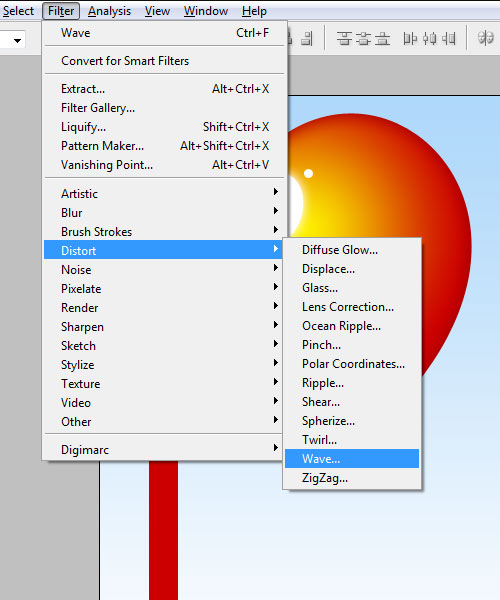
In your options box set your “Number of generators: 2”, and your “Wavelength Min. to 75”
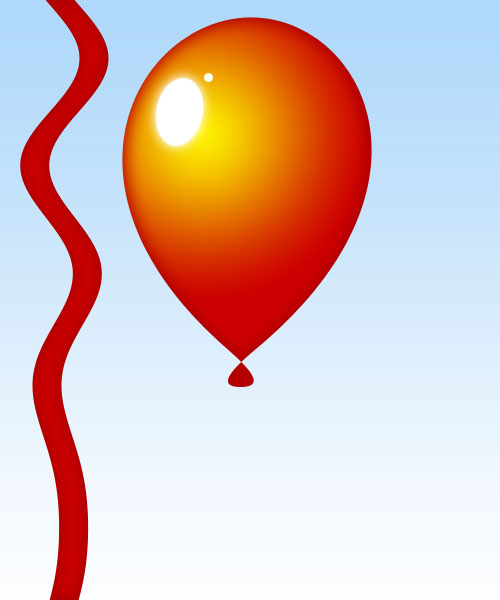
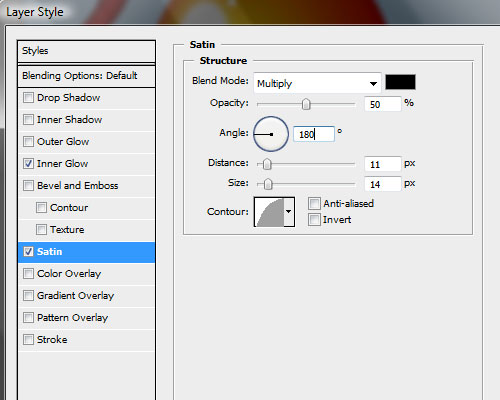
Now we will add some Blending effects to our string, we can copy the Layer style of our “red balloon” just right click on this layer and “Copy layer style” paste it to our “string” layer, next open blending options and add “Satin”, set “Angle” to 180 degrees and “Contour” choose “Half Round” then make sure that “Invert” is not selected.
Our string will now have a nice light and shadow.
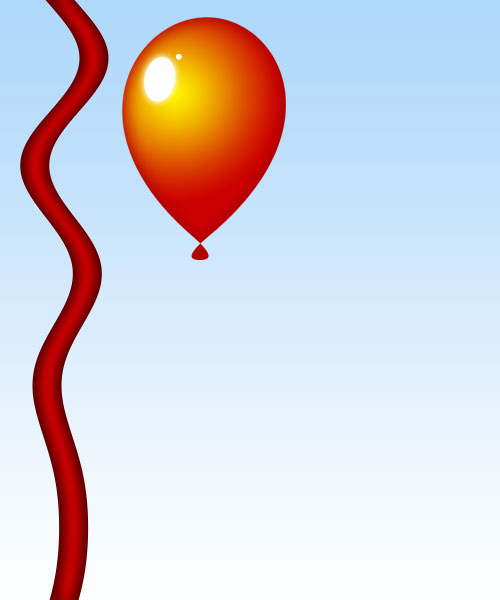
Bring this layer behind your “red balloon” and start scaling down to fit your balloon.
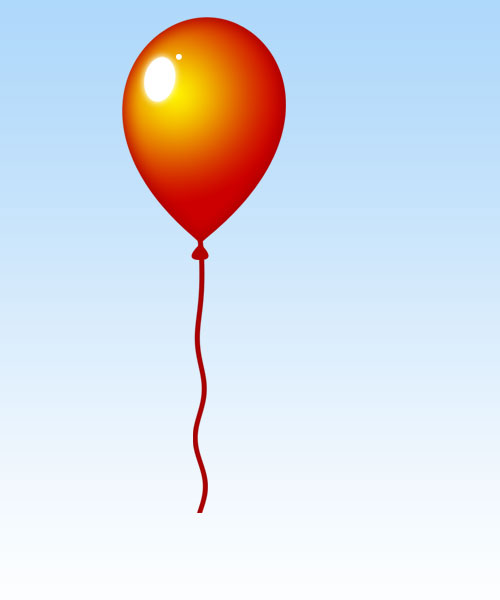
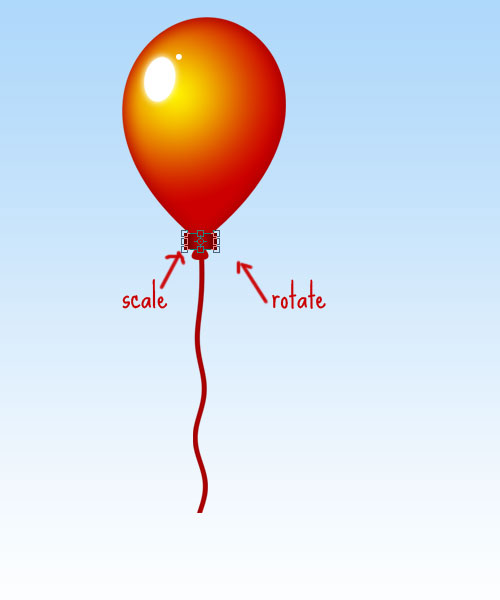
Then going for the home stretch well add a loop, Create a New layer and rename it “loop”, make sure this one is on top of the “red balloon” layer. Get the Marquee tool (M) and just make a small horizontal rectangle. Fill it with the same color you used for the string, then Copy the layer style of your string layer and Paste it on your “loop” layer. Drag it on to your balloon where the knot should be and position it to fit. Tweak it Edit > Scale, then Edit > Rotate until you are satisfied.
And finally
Our own Red Balloon…

99 red balloons.
floating in the summer sky.
Panic bells, it’s red alert.
There’s something here from somewhere else.
The war machine springs to life.
Opens up one eager eye.
Focusing it on the sky.
Where 99 red balloons go by. – Nena
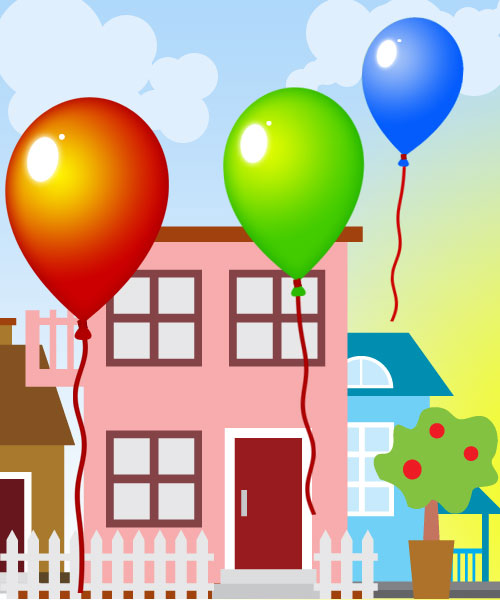
Here’s mine
Experiment with other color combinations and create awesome backgrounds or simply have fun with it, and if you find this tutorial interesting and useful please link-back to this post, or share it with your friends. Sharing is Sexy!
“Special thanks goes to design.oneter.com for the vector houses used to complement the final artwork and of course [email protected] for the inspirational balloons wallpaper at the beginning of this article.”
Comments
16 responses to “How to Make Party Balloons in Photoshop Tutorial”