This tutorial was originally written by KolNedra it’s so unbelievably easy to recreate, I had so much fun doing it. I’m reposting it here with step by step screenshots so you can have a visual guide of what’s going on (mostly for those who are still new to Photoshop). Or go visit the original tutorial.
If you’re still here then let’s get down to business…
But wait, what is HDR?
In image processing, computer graphics, and photography, high dynamic range imaging (HDRI or just HDR) is a set of techniques that allow a greater dynamic range of luminances between the lightest and darkest areas of an image than standard digital imaging techniques or photographic methods. – wikipedia.com
A real HDR photo is composed of 3 images (I hear some takes up to 7) of the same exact scene but each having a different level of exposure, then using an image editing software like Photo Matrix or Photoshop you will combine these 3 images into one dramatic photograph. It’s a bit tricky to accomplish especially if you’re a noob like me. An amazing skill to add to your belt and if you get the hang of it you will definitely deserve those bragging rights.
HDR samples from deviantart.com
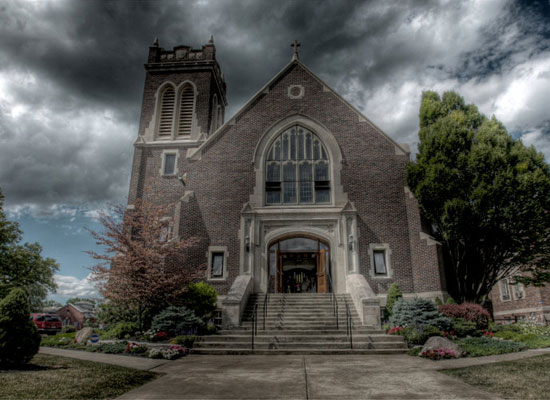
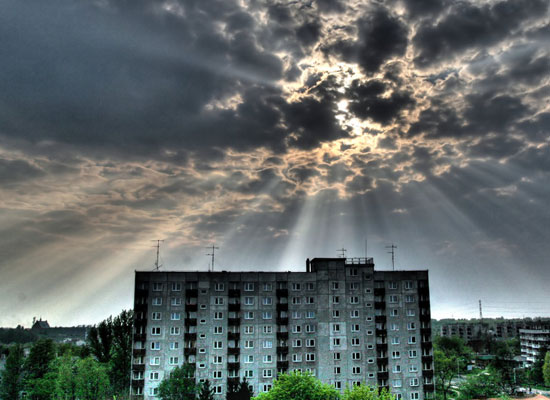
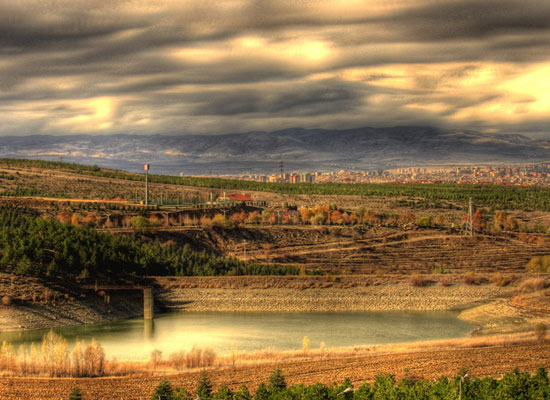
OK let’s have some fun
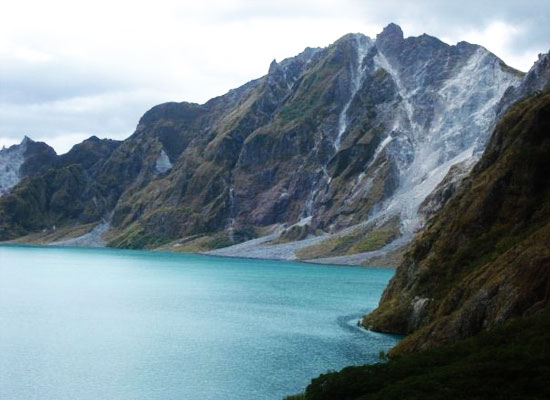
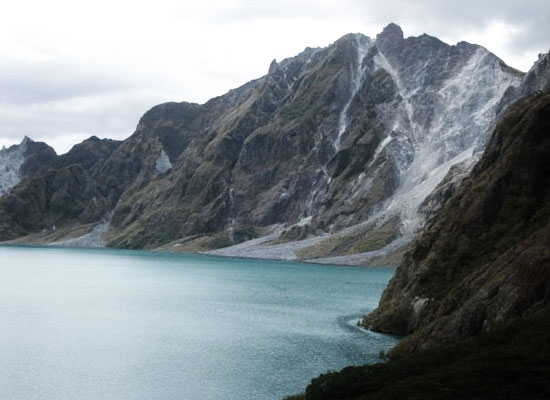
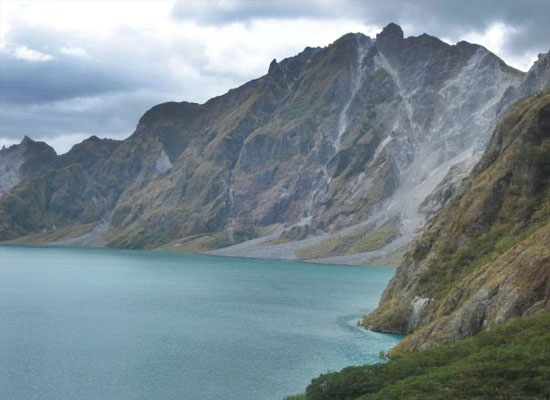
First we need a nice image, any image will do but the effect goes well with landscape shots and try to get one with a good enough focus. For this tutorial you can borrow mine. It’s a cool shot of the Mt. Pinatubo crater, (Just click the link and “save image as”). Or use any stock photo you have.
Open your image in Photoshop
Step 1
We’ll call the original layer “LAYER 1”, now duplicate LAYER 1 by clicking and dragging it to the “create new layer” button and place it above the original layer.
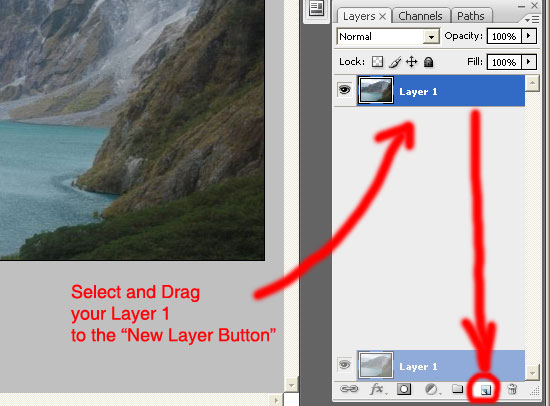
(rename this layer copy “LAYER 2”)
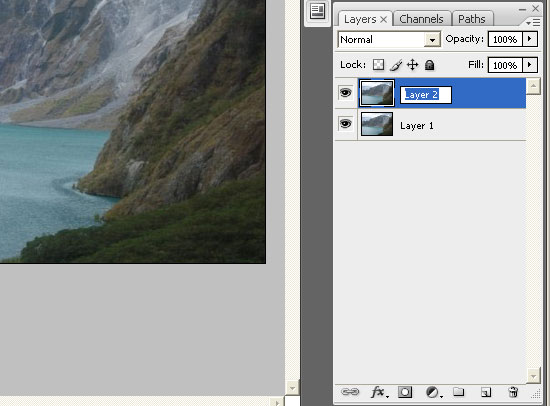
Step 2
Change the Blending option of LAYER 2 to “Overlay”
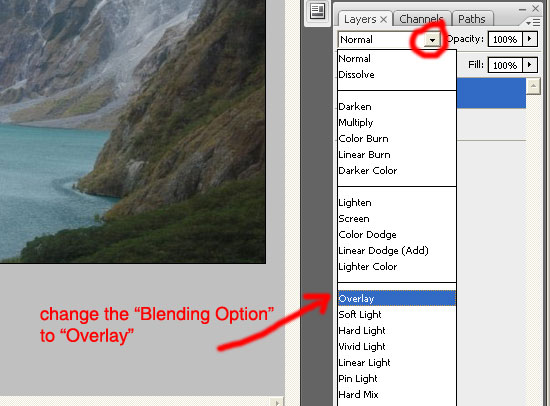
Output sample: after you apply the “Blending Change”
Step 3
Go to Image > Adjustments > Desaturate (SHIFT + CTRL + U)
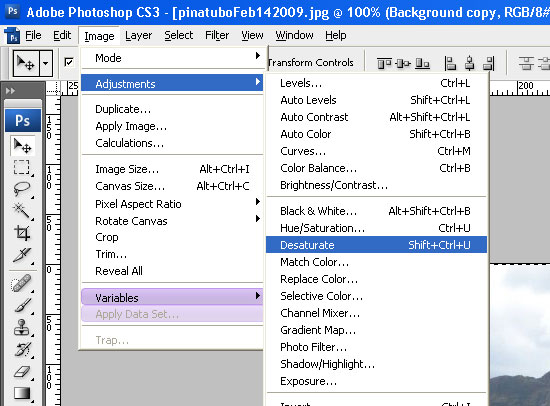
Output sample: after you apply the “Image > Adjustment > Desaturate”
Step 4
Now invert LAYER 2: Image > Adjustments > Invert (CTRL + I)
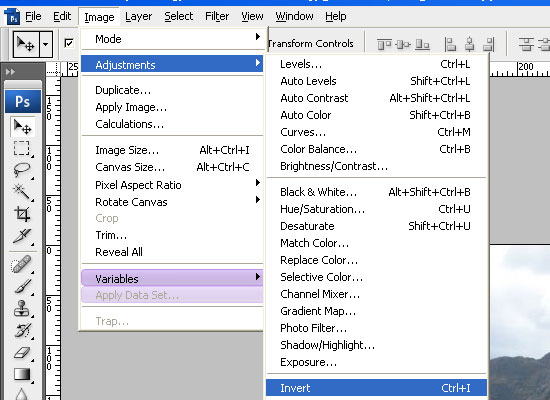
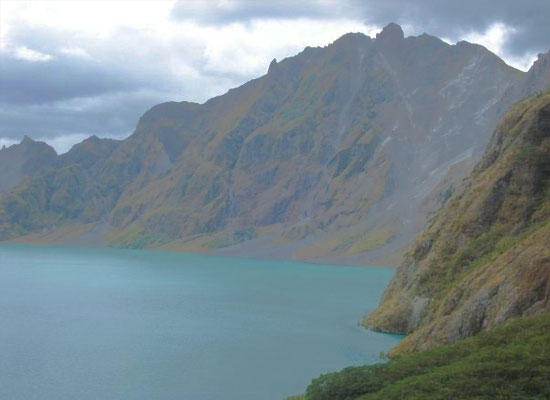
Output sample: after you apply the “Image > Adjustment > Invert”
Step 5
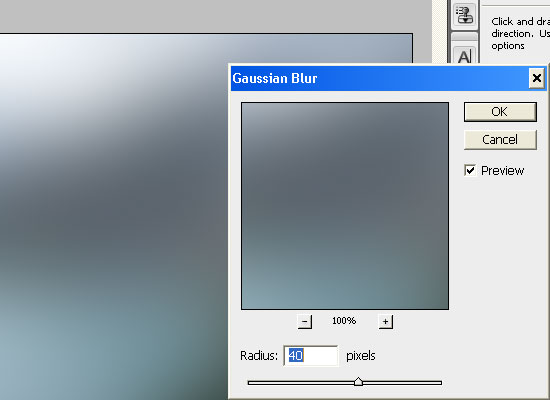
And add a gaussian Blur to it (Filter > Blur > Gaussian Blur) around 40 pixels
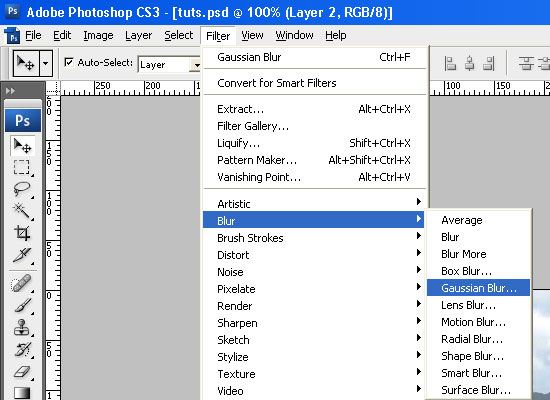
If you look at your “Layers” panel you should have something like this.
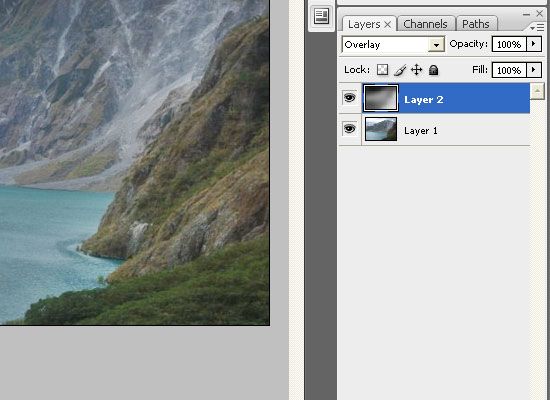
Output sample: after applying “Gaussian Blur”
Step 6
Now duplicate LAYER 1 and place it above LAYER 2,
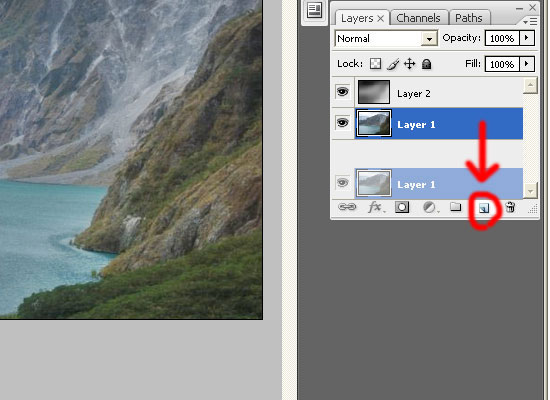
Rename this layer “LAYER 3”
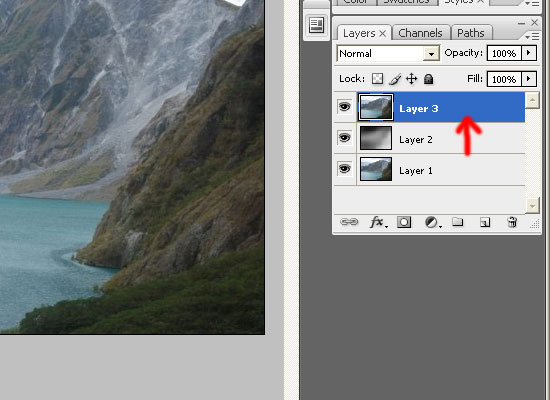
Step 7
Change the blending type of LAYER 3 to “Linear Light”
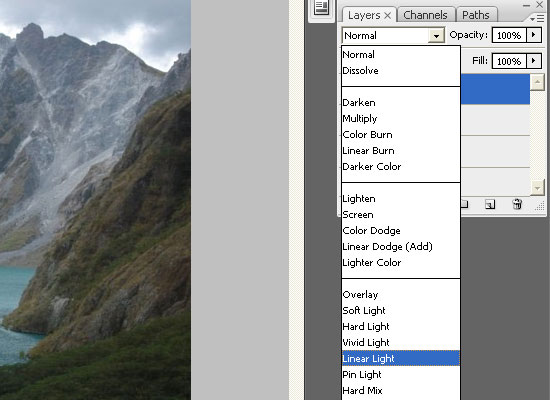
Step 8
Give LAYER 3 an opacity around 55%. And you’re done (For better results, tweak this percentage)
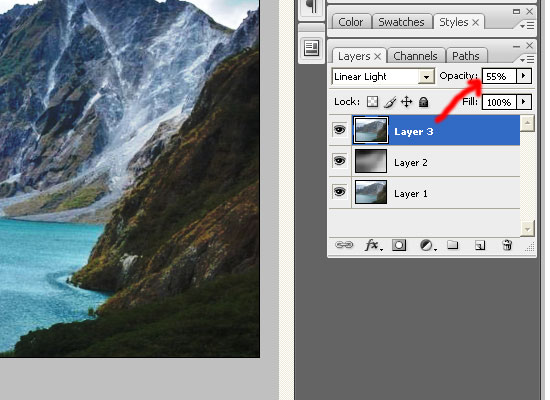
Now check this out
Our original image was taken with a Sony Cybershot Digital point and shoot, very handy to bring along on off road trails when going on nature hikes, lightweight and compact but the image quality is just adequate. With this tutorial originally by KolNedra we managed to go…
From this…
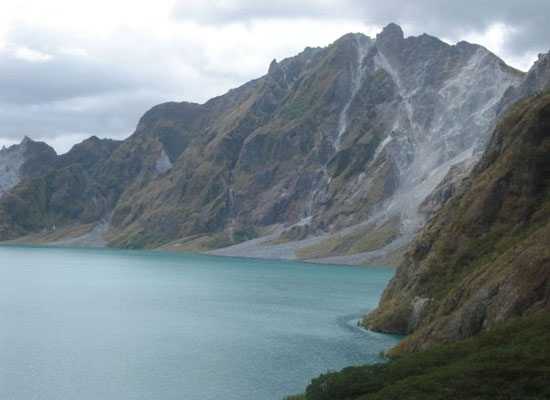
To this…
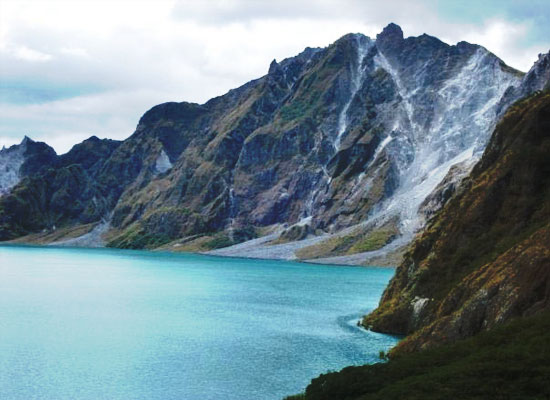
More faux HDR using this tutorial
You may notice that images with more colors to play with have better looking results.
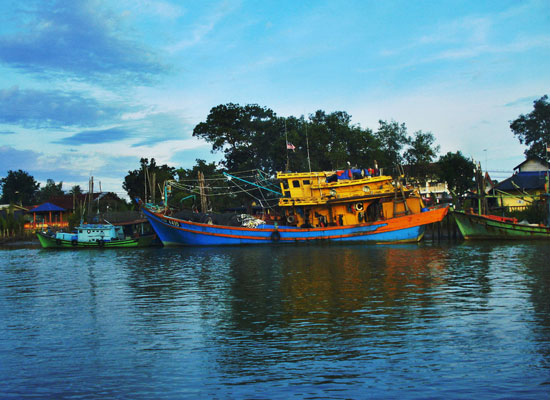
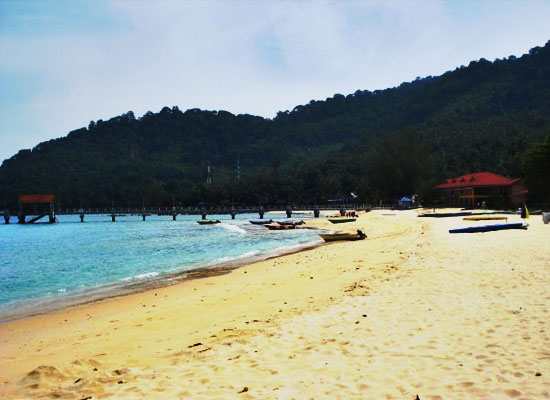
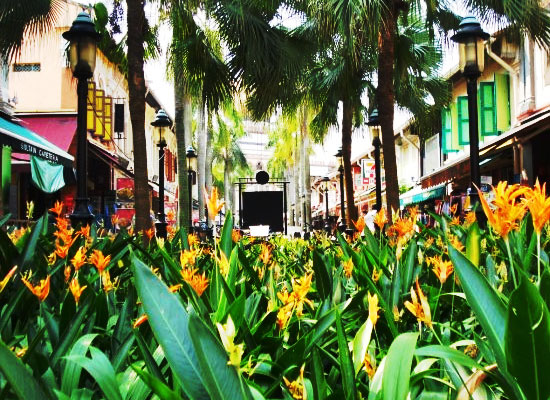
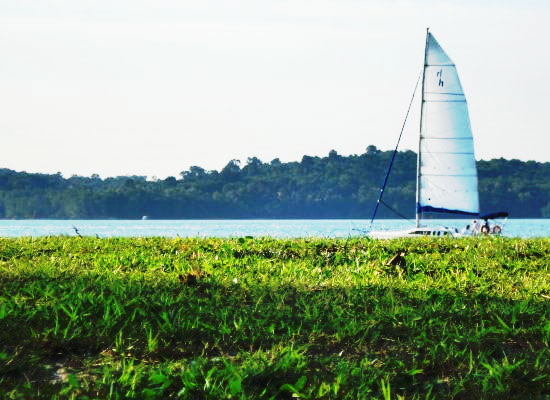
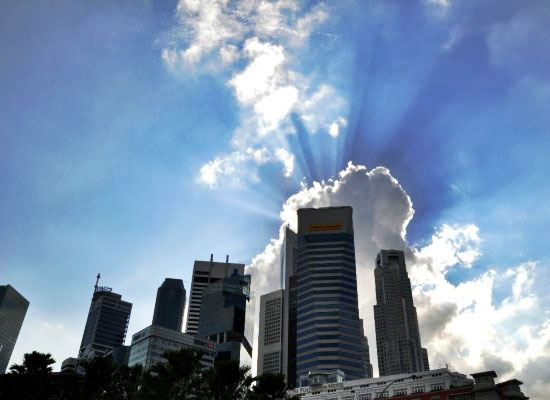
Disclaimer: This is not how a real HDR is done and the quality is just similar to the real thing (not even close). Still it’s not that bad for a project that takes less than 5 minutes.
Comments
12 responses to “8 Easy Steps to Fake an HDR Look in Photoshop”