Extracting images from a background is one skill every designer should have, to be able to manipulate a scene and give it a new life and a new purpose. Extracting images seems trivial to me now, but I remember when there was a time that getting a subject out of a scene and into another one was so alien to me. A friend of mine asked me once to write something about it and so that’s what this post is all about.
What are the best images to use for this type of project?
1. All Hi-Res (High Resolution) images are great for extraction projects because you really need to get in there when you are cropping out subjects from a background and zooming-in works best with Hi-Res images.
2. Images on a white background are uber awesome, although obtaining the right image would be difficult because there is only so much resource you can find out there on a white background. Patience is the key as well as the right stock image provider. Combine white background with Hi-Res and we have a definite winner. You won’t miss a pixel of your subjects outline.
What images are bad for this type of projects?
1. The opposite of Hi-Res, but as you get better with Photoshop you will be able to work with Medium-Res and if you’re desperate enough even Low-Res photos.
2. Images with inner shadows on a dark background are the worst; you won’t be able to tell where you’re subjects outline starts or where the background ends. It’s almost unusable unless you only need to get part of your image, then it’s cool.
So now that image selection is done it’s time to open your Photoshop. There are numerous ways and tools to extract an image in Photoshop, each one unique and effective in their own way.
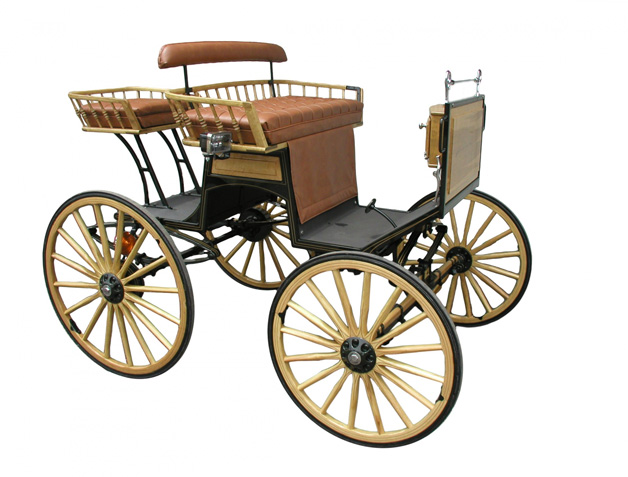
So let’s begin, I have here an image of an old style brougham on a white background (Download the image here or click on the stock photo below). It’s available for free at pixmac.com check them out for your future stock image needs.
Open your copy of old style brougham image in Photoshop, our image has a width of 1633 x height of 1225 this will do for our purpose today but take note that the bigger the file dimension size the better.
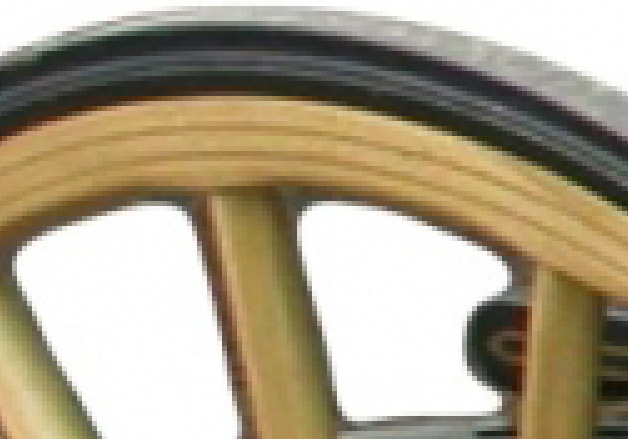
By default Photoshop opens image files fitted to your screen, (duplicate your image so we can go back to the original if something goes wrong, then turn off the original image layer and work on the copy) select your Zoom Tool from the Tools Palette or hit Z from your keyboard. Then click on your image or use the keyboard shortcut Ctrl + + maybe 3 – 4 times until you are zoomed in up to 300% at this level you can see the pixels of your image’s outline. Zoom in some more until you are in a comfortable level to see your image outlines.
Our image at 500% Zoom
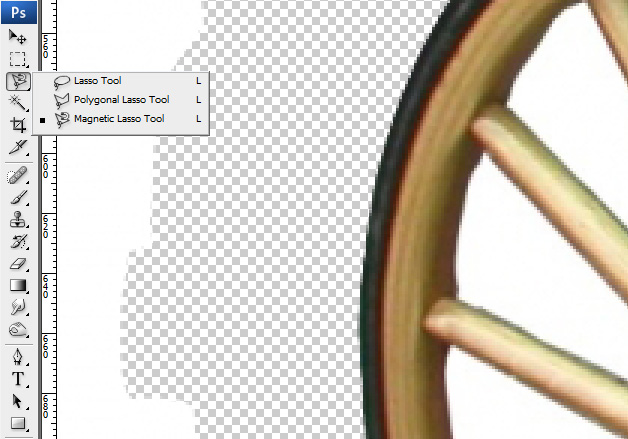
Lasso Tool (L)
One of the basic Photoshop Path selection tool is the Lasso Tool (L). We need to create a path of our image outline to turn into a selection so we can remove the background. The Lasso Tool has 3 options the Lasso, Polygonal and Magnetic Tool.
How to use it
Lasso Tool: It can be tricky as it requires a good command of the mouse since this is how you will trace your image’s outline.
Polygonal Tool: Is more like the game connect the dots or can be compared to using a needle and a thread you can lay out your paths from point to point, I suggest Zooming in and place your points as close to each other as possible especially for curved Paths.
Magnetic Tool: This one would seem like the perfect choice as it literally hugs your outlines to create a path, all you need to do is hover over your images outline as close as you can and it will stick a path to it.
Once you have selected your path (I suggest go around your image piece by piece) hit delete to remove the background or use Ctrl + Shift + I and apply a Layer Mask to hide your background then for the rest of the pieces just fill em with black after selection.
Conclusion
A very good tool to use when starting out, great for images isolated on a white background like the one we have. Needs some practice to master, useless tool for extraction with regular images on a busy background.
Magic Wand (W)
This is great for beginners too (not the best tool to use though) but it can get the job done to a certain degree. Its brother the Quick Selection Tool can be used together with the Magic Wand when necessary.
How to use it
Zoom out a bit up to 100% and click anywhere in your white area. You will notice that your image outline is selected. Now use Ctrl + Shift + I to invert this selection then go to your layers option and apply Add Layer Mask. The selected background is now hidden behind the layer mask.
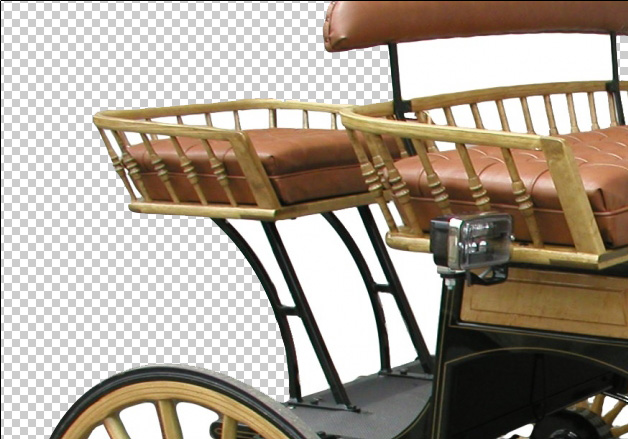
Continue selecting the smaller parts of the background and fill it with black inside your Layer Mask, until you have all the white background hidden inside the mask. You need to Zoom in closer for the smaller parts try to get help from the Quick Selection Tool in tight corners.
Conclusion
The result is not 100% clean try to create a new layer behind it and fill it with black to see the edges. And remember as long as there is a clear contrast between your image and its background the Magic Wand will do the trick. But this tool won’t be advisable, in fact it would just be plain useless if you have a busy background.
Extract Filter (Ctrl + Alt + X)
I believe this is no longer available in CS4+ but you can add it back in as an optional plugin. This one is a cool extracting tool best used for images that are difficult to trace ex. Fuzzy hair styles. Just go to Filter > Extract or use the shortcut Ctrl + Alt + X it will open your image on the Extract Tool work area.
How to use it
For this example let’s just take one of the wheels, the right front wheel would do great. Inside the Extract Filter work area get your Edge Highlighter Tool (B) and cover the outline of the wheel, make sure you don’t have any gaps in your highlight. Use the Eraser Tool to remove unnecessary highlights. Zoom in closer to get a better view of your work. Once you have the entire outline covered, get your Fill Tool and fill the rest of our target image.
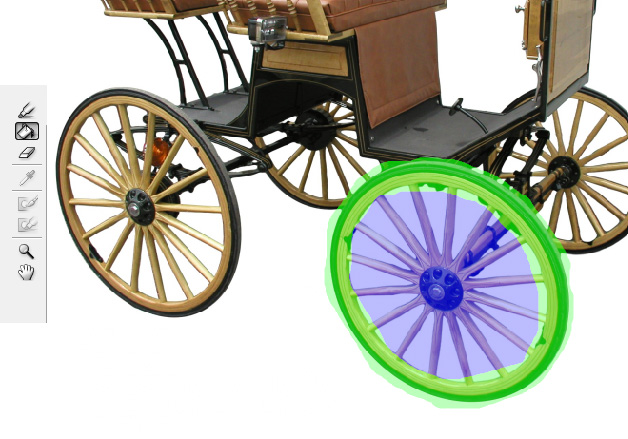
It will come out a bit destroyed, but don’t you worry the History Brush (Y) will help you fix it. Use a nice sized brush and brush over the destroyed image. Take note to brush only the parts you want to recover.
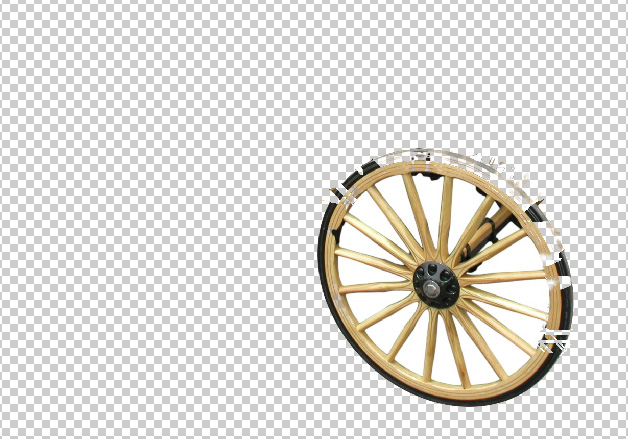
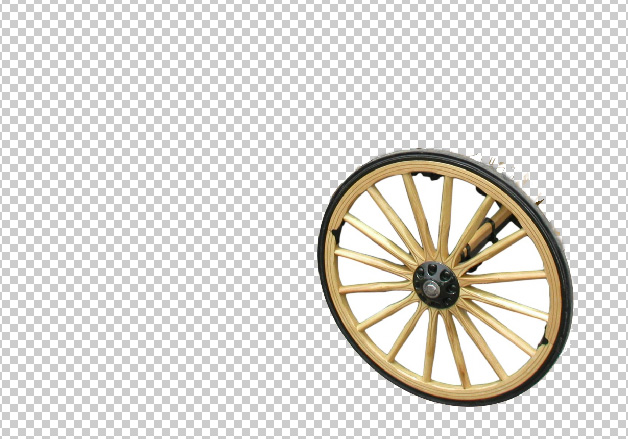
Additional resources
Extract an object from its background
Conclusion
So you see although the Filter > Extract is a cool tool to remove an image from its background, it’s a bit complicated to use and takes a lot of practice to make it look pretty. But this will come really handy for extracting images with furry or fuzzy edges.
Layer Mask using Brush
A bit unconventional, but this could help you in sticky situations, say you used the previously mentioned tools and you have a few strays then you can use this to clean up your image.
How to use it
Simply add a Layer Mask to your image and make sure you have Black as your foreground color then with the brush tool start tracing the edge of your image, kind of like the reverse of what we did for the Filter > Extract option where we traced the image and left the rest out.
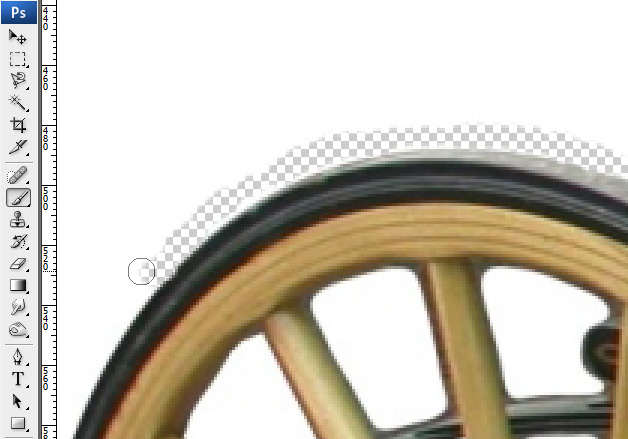
Conclusion
You can definitely use this to help you clean up an image, and if you have a good control of your mouse even extract an image.
Pen Tool (P)
This tool should be your best friend in Photoshop you can create a lot of neat things with it, and one of the things it can do is help you create a path, straight, curved, corner or whatever this is your Swiss knife of tracing.
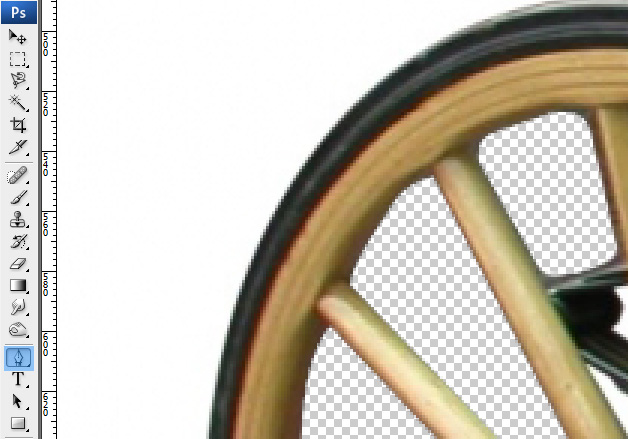
Learn or rather master the Pen Tool from the resource links we have here and you will be able to extract any subject from any background no matter how busy, and even if it’s a low-res image. (I wouldn’t advise it, but it can be done.)
Related articles
Improve your grip on PEN TOOL a short but good tutorial
Conclusion
The Pen Tool is your best friend learn it, master it. It’s all in the wrist.
After the extraction
I placed my extracted image in another background, Red Square from pixmac.com and gave it a bit of texture, some shadows, light effects and presto!

So there you go tools to help you create artistic renditions to extract a subject from a stock photo then combine multiple images to come up with a new and exciting concepts, I hope you like it.
Comments
17 responses to “How to extract an image from its background in Photoshop”