No one can deny the power of an eye catching icon to to help your visitors and readers scan to the juicy parts of your content or guide them to your call to action buttons. So today I’m going to show you how you can create your very own glassy lady bug icon in Photoshop.
What we will be making
Setting up the stage
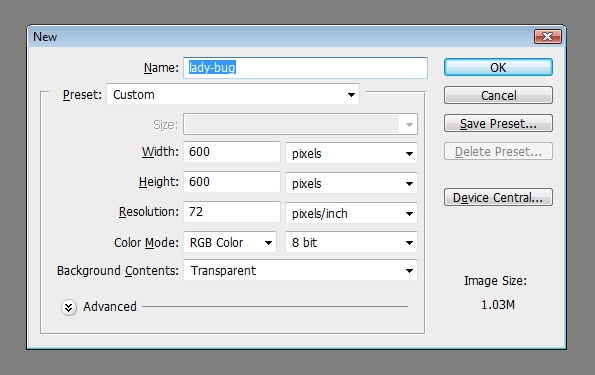
Open Photoshop and create a new file, Ctrl + N and make the dimension a nice large square of 600 pixels x 600 pixels name it “lady-bug”. Fill it with white and name that layer “bg”.
Step 1 – the body
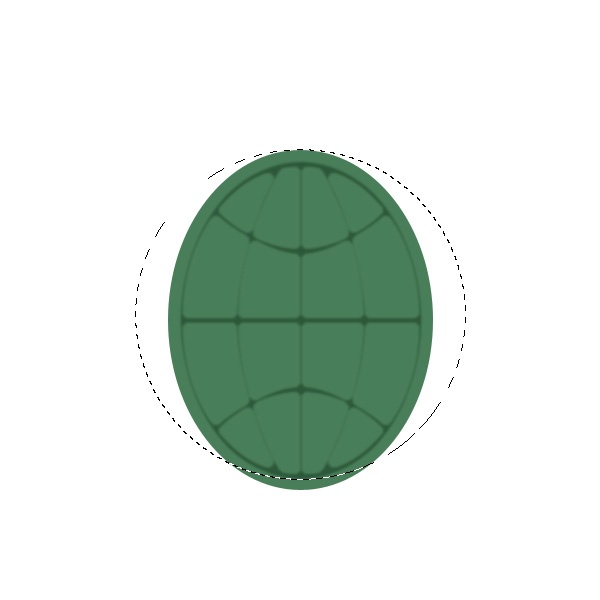
For the body we will use our Ellipse Tool, but first set your Foreground Color to #497e59 and make sure the Ellipse Tool (U) is set to Shape layers. Now drag your mouse on your work area and create a nice vertical ellipse. Like a nice egg shape around 265px width and height 340px. Rename this layer “body”. If your Ellipse Tool (U) has been properly set to Shape Layers then you should have something like this. Align your layer Vertical Center and make sure we have enough room on top for the head.
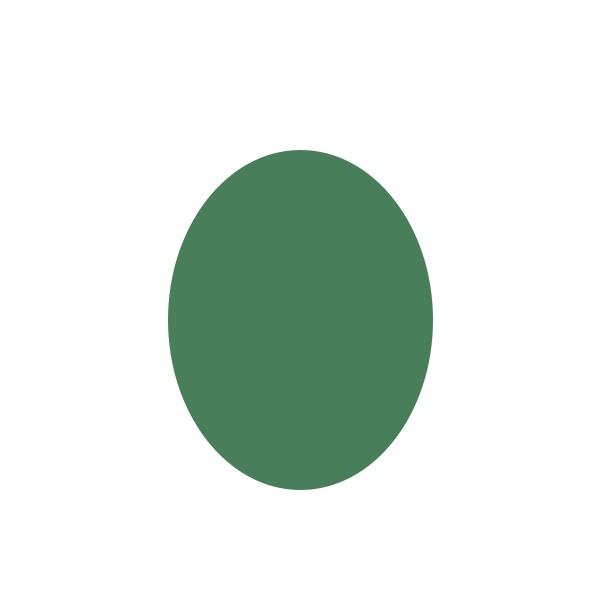
You can also just turn your path into a selection Ctrl + Enter and fill it with our foreground color if you find it easier.
Add some detail on the body by creating a new layer and rename it “abdomen”, change your Foreground Color to a darker shade of green like #092a13.
Now go to your shapes pallete again but this time use the Custom Shape option, then in your custom shape menu navigate to the Symbols pallete and pick World shape. Drag it across the work stage, we need it elliptical like our “body” layer but make sure it would fit snugly inside the body so make it a few pixels smaller and properly centered.
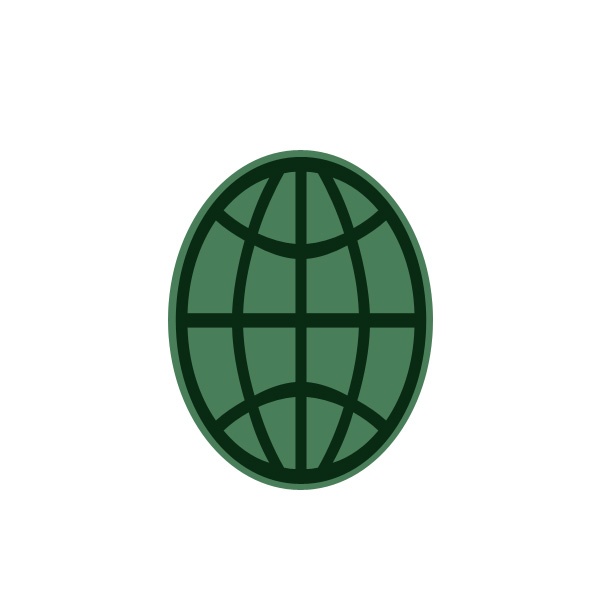
We will have to reduce the thickness as well so turn this layer into a selection Ctrl + click (with your mouse) then go to Select > Modify > Contract > Contract by: 5 then apply a layer mask. Don’t worry if the lines are not proportion just give it a light blur Filter > Blur > Gaussian Blur set the Radius to 1 and reduce the Opacity to 45%.
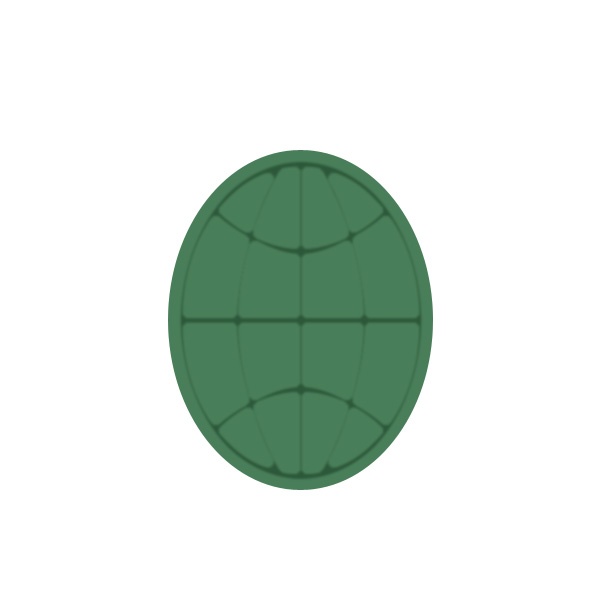
Note: Group this layers together and rename it “body” (simply select both layers and drag them to the folder icon at the bottom of the layers pallete).
Step 2 – the wing
Create a new layer and name it “wings-outline” (change your foreground to any red color to make it stand out from the body) then with your Ellipse Tool (U) make a nice circle by holding the Shift Key while dragging, make it around 320 pixels or just make sure it’s smaller than the body by 10 pixels more or less. Keep it Vertical Center and Top Align to the body then turn it into a selection.
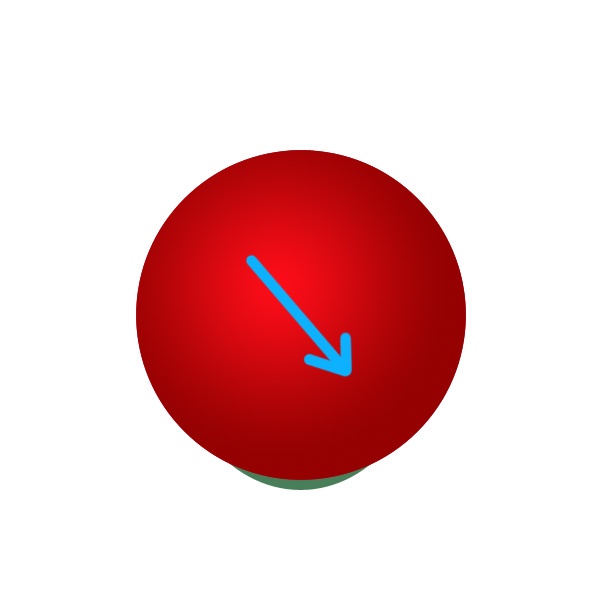
Create a new layer name it “wing-gradient” then choose a light red color for your foreground #fd0d18 and a darker shade of red for your background #950101 then select the Gradient Tool (G) make sure it’s set to Foreground to Background and the style should be Radial Gradient. Drag it lightly from the top left going down to the bottom right of your selection.
Step 3 – wing detail
Hide the “wings-outline” layer for now, just poke the eye of this layer while we add some details to our wings.
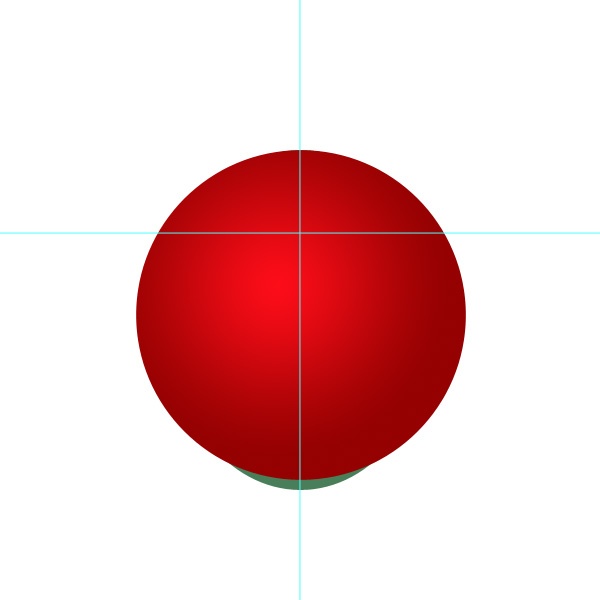
We need to separate the left and right wing, for this we will use some guides, so get your rulers out Ctrl + R the Vertical guide should be centered to our wing while the Horizontal guide should be a quarter from the top of the wing.
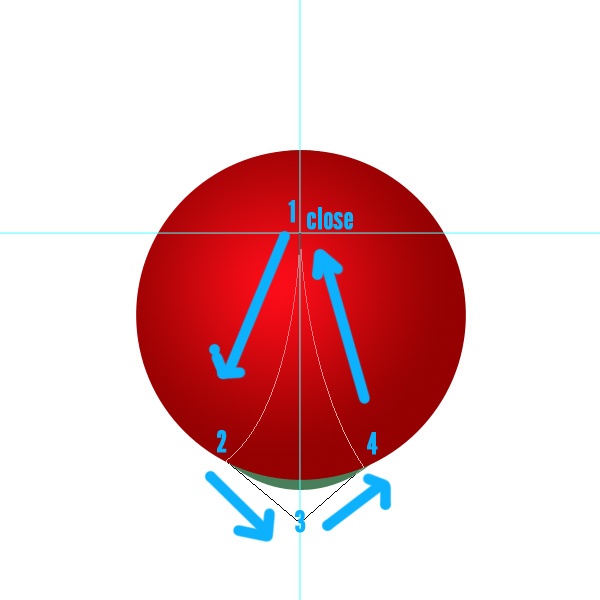
Time to practice with the Pen Tool (P), start from the intersection of our guides then make a diagonal line going to the bottom left of the wing, give it a nice curve and make your way to the other side of the guide just try and match the curve. Turn it into a selection Ctrl + Enter and invert your selection Ctrl + Shift + I now make sure you have “wing-gradient” layer selected then add a layer mask.
Ctrl + N a new layer below the “wing-gradient” layer and call it “shadow” then Ctrl + click the “wing-gradient” layer (thumbnail) and fill it with black #000000, don’t forget to duplicate the layer mask as well Ctrl + click the “wing-gradient” layer (thumbnail mask) to turn it into a selection and add a layer mask to the “shadow” layer. Finally give it a gaussian blur, Filter > Blur > Gaussian Blur > Radius: 5px.

Start adding random black dots all over the wing area with the Ellipse Tool (U) make sure you create these above the “wing-gradient” layer.
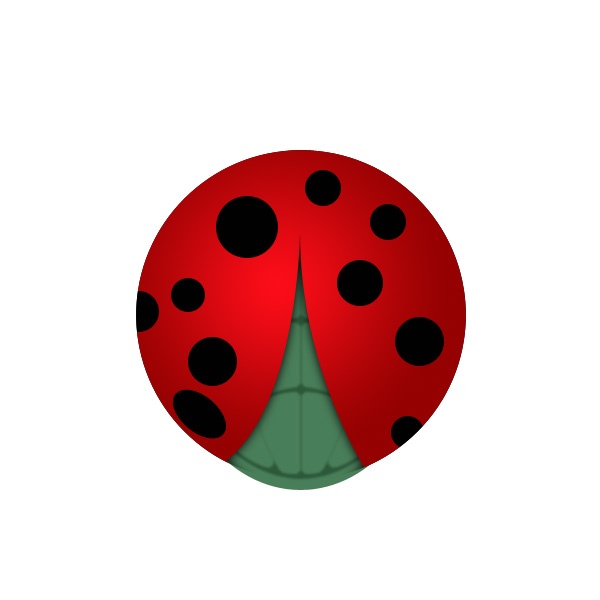
Now add a new layer on the very top of the black dots and call it “gloss”, turn the outline of the wing into a selection make your foreground color white #ffffff. Select the Gradient Tool (G) and set it to Foreground to Transparent style should be Linear Gradient. Drag it from the top going down, it may look better if you start from outside of the body so we get a nice soft gradient.
Transform this layer Ctrl + T highlight the width first, bring it down 80%, then the height to 70%. Align it Vertically and to the top of the “wing-gradient” layer.
Add another layer and call it “glow” repeat the steps we’ve done for the “gloss” effect but the gradient style here should be set to Radial Gradient and then drag it starting from the bottom going up. Clean up using a layer mask to replicate the space between the wings.
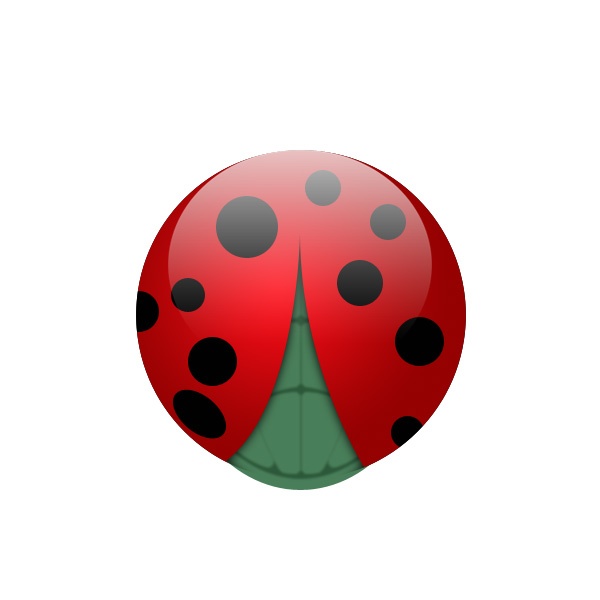
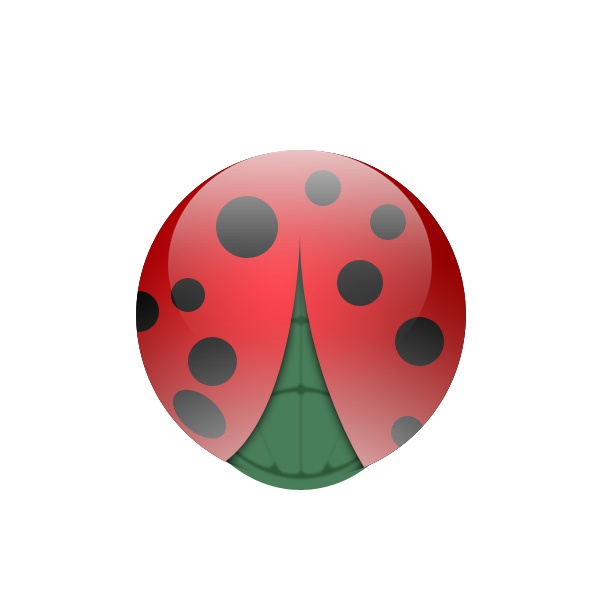
Note: Group them together and call it “wings”.
Step 4 – the head
Remember the “wings-outline” layer we turned off earlier? Duplicate that and place it between your “wings” group and your “body” group, turn on the copy and rename it “head”.
Move “head” into position at the top of the work stage then transform it Ctrl + T, select Maintain aspect ratio it’s the chain “link” looking button between the width and height then highlight the width and use Shift + Arrow Key Down to bring its size to around 40%. Deselect the option Maintain aspect ratio and then highlight height and this time just with the Down Arrow Key bring the height to at least 35%.

We will repeat the steps we used to create the “wing-gradient” layer. First turn your path into a selection Ctrl + Enter. Then choose a nice gray color for your foreground #484748 and black for your background #000000 then select the Gradient Tool (G) make sure it’s set to Foreground to Background and the style should be Radial Gradient. Drag it lightly from the top left going down to the bottom right of your selection.
(Note: if in doubt refer to the “wing-gradient” images)
Then give a “gloss” effect similar to what we have also done for the wing.
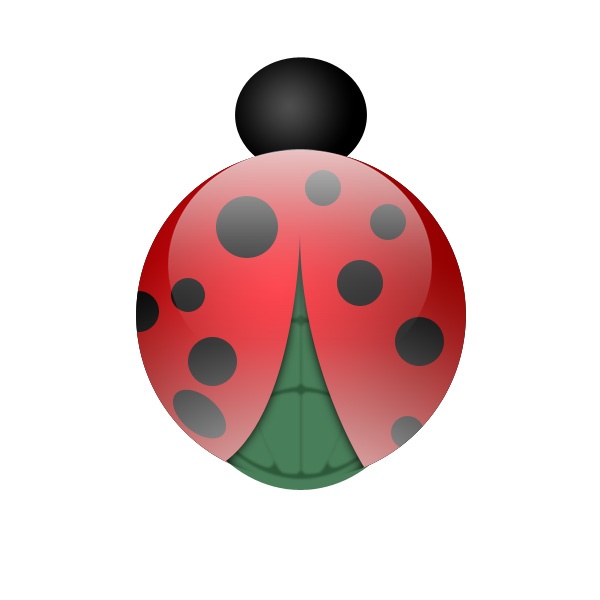
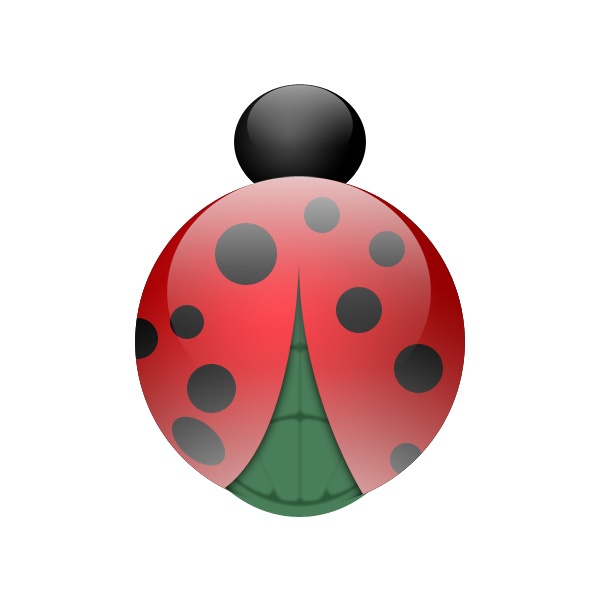
All that’s left now is the antennae.
Step 5 – the antennae
Create a layer below the “head” and call this new layer “antennae-left”, then with your brush tool selected, I will be using a Hard Round brush around 10px, create a dot anywhere on our stage we will position it later. Then reduce the diameter of your brush to around 7px using the left bracket [ key you can just stroke a curve line freehand if you like, but I will use the pen tool to create mine, starting from the dot going straight down then curve. Now go to the Path Tab and right click on the path we just created, choose Stroke Path make sure Simulate Pressure is not ticked, then click OK.
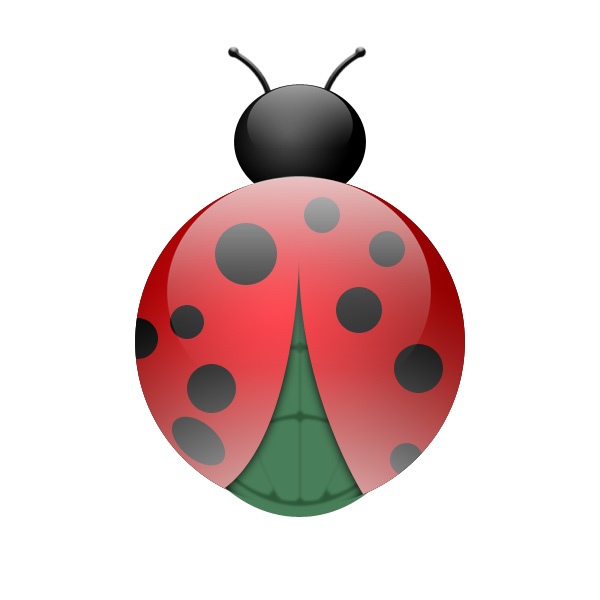
Right click the layer and go to Blending Options > Bevel and Emboss > Inner Bevel set Angle 90° and Altitude 45°. Now position this on the “head” use Transform Ctrl + T to rotate it to an angle that would look good. Duplicate this layer and rename it “antennae-right” and move it to the opposite side.
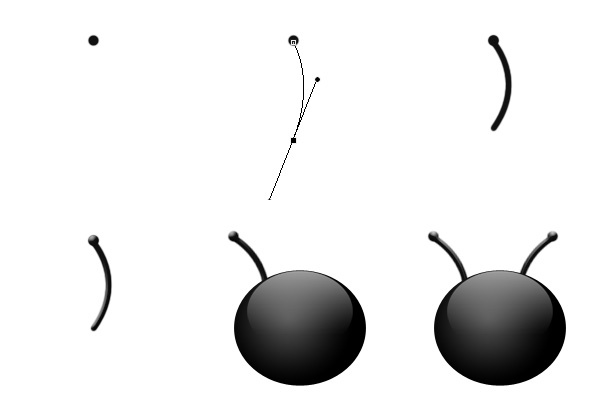
And that’s all I have to say about that
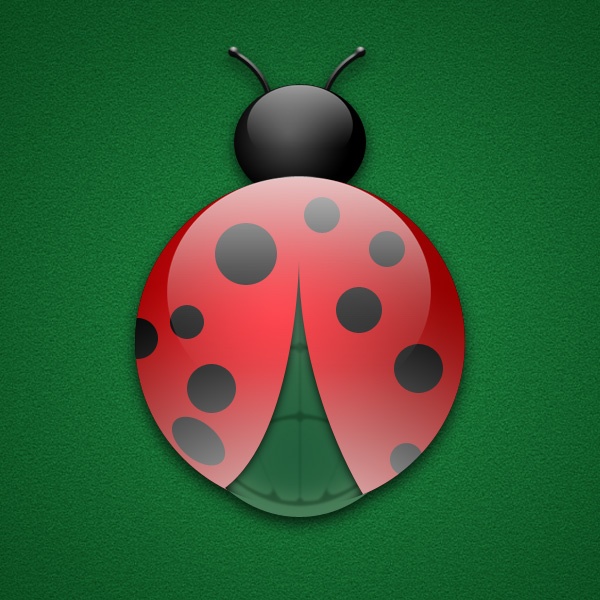
Hmmmn, how about some shadows? and a background?
For the shadow just group all the files in one folder and call that “main”, duplicate it then Right Click and Merge Group, then turn it into a selection. Ctrl click the layer and fill with black #000000 bring it below the “main” group then Filter > Blur > Gaussian Blur, Radius: 7px and bring it down a bit with the Arrow keys.
As for the background I’m leaving it all up to you and your creativity! Enjoy!

Comments
4 responses to “Create a glassy lady bug icon in Photoshop”